
Imagine this: It’s the last inning. Your team is two runs down and the whole game hangs in the…
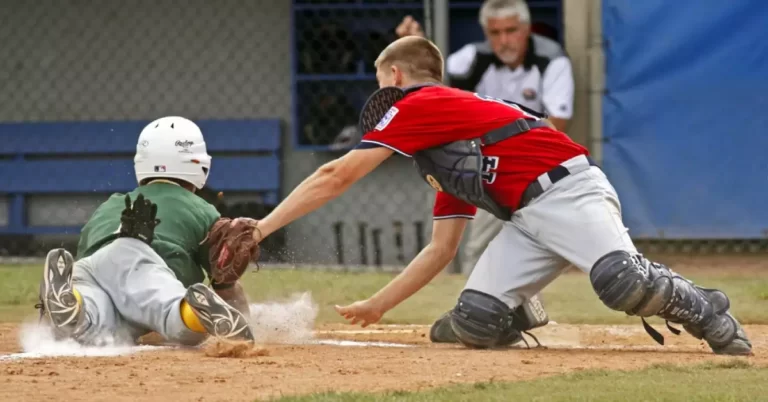
Baseballs are breaking the trend now. Starting from youngsters to professionals are diving towards…
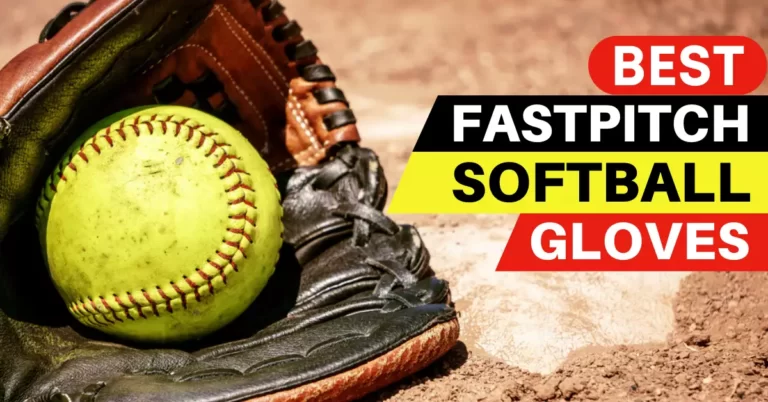
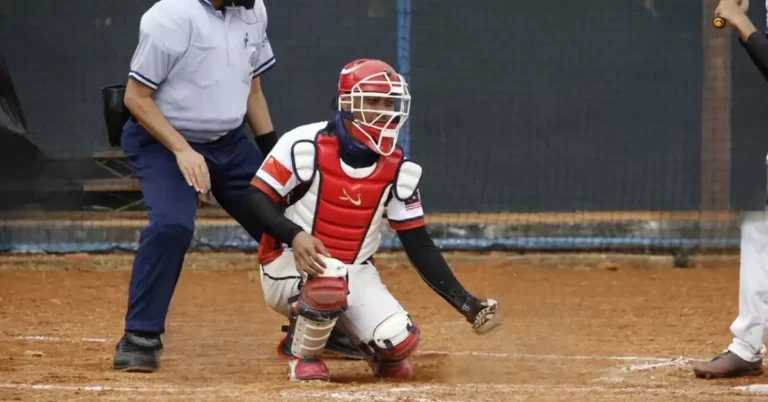
For how long have you been involved in “Fastpitch Softball”? I’m guessing long…
Softball is a competitive and fast-paced game where pitchers throw the ball at high speeds, batters…
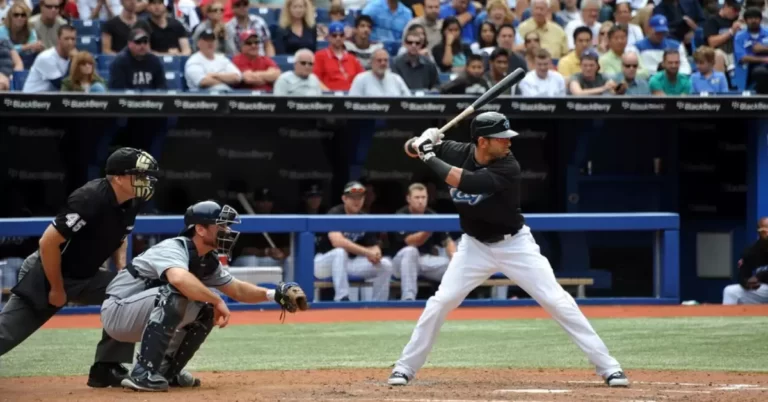
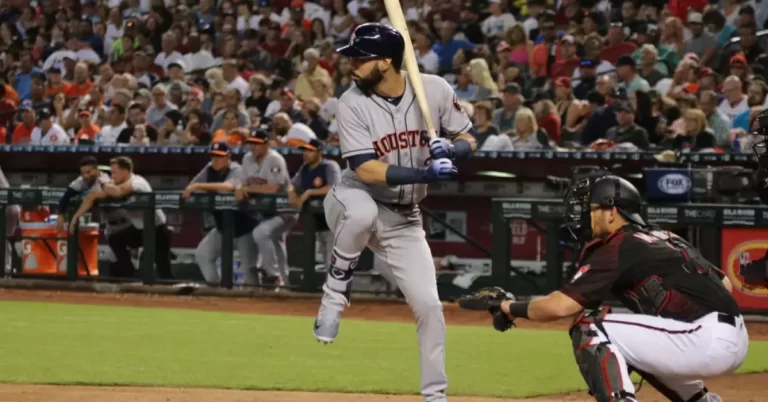
We all know that Baseball is a 9-head player game between two teams that includes a bat and bowl…
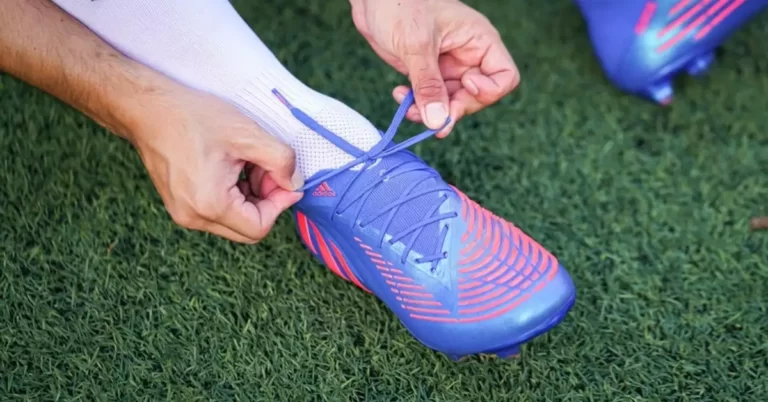
In this 2023 era, every baseball fanatic is involved with some of the adequate turf shoes available…
Softball pitching mechanics are essential for players looking to improve their performance on the…
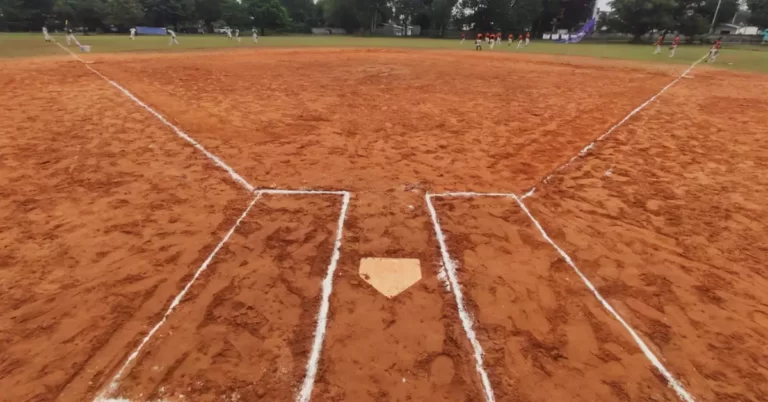
Baseball and softball fields are more than just patches of grass and dirt; they are meticulously…
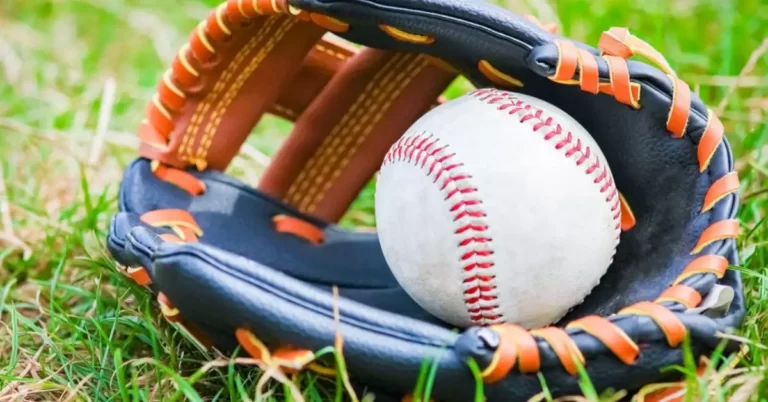
Baseball enthusiasts know the importance of a clean, well-maintained ball for optimal performance…
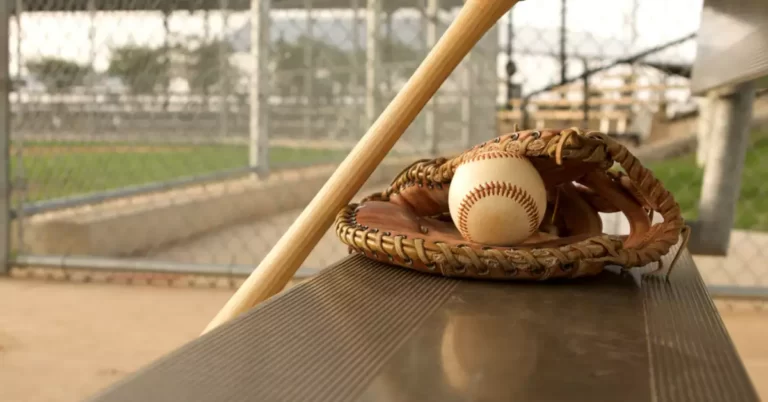
Swinging a fungo bat can significantly improve a coach’s ability to hit balls for fielding…
Baseball enthusiasts and aspiring pitchers alike know that mastering different types of pitches is…
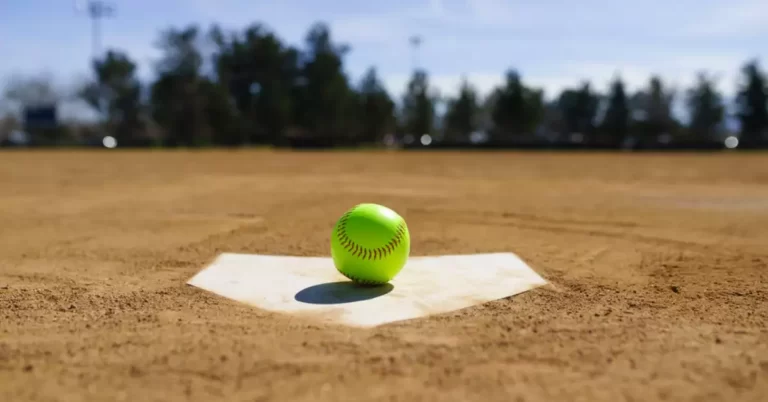
Softball, a sport cherished by many, boasts a unique playing surface. Unlike other sports, softball…
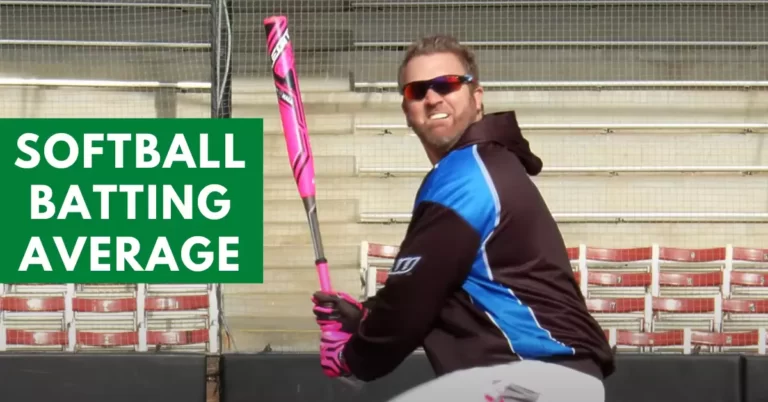
In the exciting world of softball, batting average is a vital statistic that showcases a…

Softball is a fascinating sport that often leaves spectators intrigued by its complex strategies and…
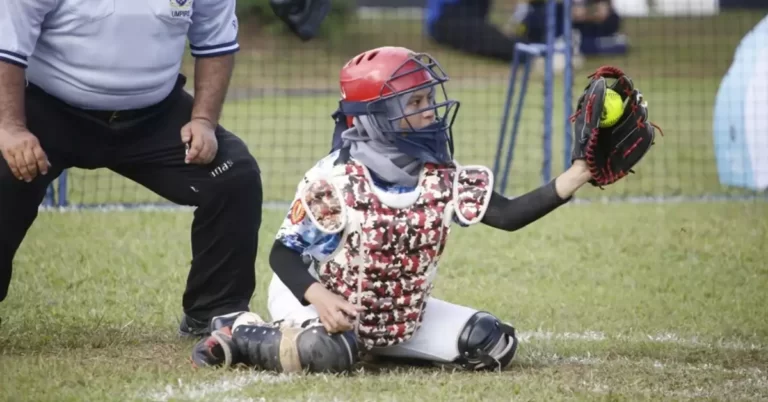
Youth softball is an invigorating sport, filled with excitement and competition. The playing field…
Softball, a popular sport with a rich history, has its unique set of rules and techniques. One…

Softball enthusiasts, gather around! We all know that selecting the perfect name for a girls’…
Softball enthusiasts, rejoice! Today, we’re diving into the world of softball memes, which not…